fbpx
Guitarist performance on Instagram

Film your performance for Instagram: How to video yourself and post for feeds, stories, and IGTV

Whether you’re showcasing your talents to step up your musical career or just filming for fun, Instagram makes it simple to share your performance with the world.

You can dramatically alter the sound by moving the mic just a small amount

It’s dead simple to make an engaging video which both looks and sounds great all within your handset

Don’t forget to have fresh batteries and enough space on your memory cards!

With the Coronavirus causing many of us to go into self-isolation, many people are filming their guitar playing for the first time or putting more effort in to make a more sophisticated video. With this in mind, we at Rotosound have put together this guide for getting the most from your video performance.

The golden rules

Set your scene

You can film in your living room, bedroom, kitchen, garden, even your car but make sure it’s free from distractions. Not to you but to your audience…

Make sure there are no distracting noises such as a washing machine running, roadworks outside the window, or your housemate recording their own Instagram video on the drum kit next-door!

Take the time to declutter the area in your shot – you want your audience focusing on your playing not on the pile of old laundry on your floor. Collectable action figures and rock posters are acceptable.

Don’t let your audience be distracted by a messy room. Photo by Celia Spenard-Ko on Unsplash

Light is your friend – use it wisely!

Anyone with experience shooting video or taking photographs professionally will tell you that light is key to a good shot – and that you always need more of it than you expect!

To compensate for different lighting conditions, most cameras (including smartphones) automatically adjust the sensitivity of their image sensor – referred to as ISO. The issue is that this adds noise to the footage causing it to become grainy in low lighting. Flooding your subject with as much light as you can allows the smartphone’s camera to lower its ISO and reduce noise.

The same applies to cameras with manual ISO adjustment – to avoid noise increase the light and lower the ISO.

The position of the light is as important as how bright it is. A general rule is to point the most light at the front of the subject – keeping the source of light behind the camera and pointing at the subject will usually get the best results.

Avoid having a strong light behind the subject and pointing into the camera – it will either cast the subject in shadow if the camera’s exposure is set low or overwhelm the background in glare if the exposure is set high.

Equipment

If you’re filming in the day, shoot close to a window – soft natural sunlight can look great but be careful with direct sun as it can cast strong shadows. If necessary, you can pull a thin curtain or blind down to soften the light.

Grab as many household lights as you can and experiment with lampshades and placement.

What’s your angle?

Whether you’re filming with five cameras or one you should think carefully about every angle. Each angle should show something which the others don’t. For example, three cameras could be set up to show close ups of the fretting hand, the picking hand, plus a shot of yourself and the whole guitar.

If you just have the one camera, make it count. If your video is about playing your instrument then make sure that your hands are in shot and you’re close enough that the audience can see what you’re playing.

Equipment

A tripod per camera is the best choice but not everyone will have multiple tripod – or even one. A stack of books is a time-honoured replacement as are stools and side tables.

Nothing is more annoying than a smartphone falling over halfway through nailing an epic solo. There are many stands and mounts available for smartphones but a neat trick is to build your own out of Lego bricks.

Books are a good option if you don’t have a tripod. Photo by William Thomas on Unsplash

Good audio makes a great video

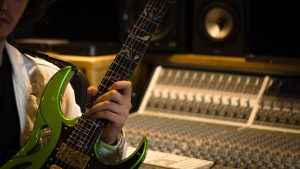
You might be the next EVH but if your audience can’t hear you then you may as well just be holding a guitar. Good quality audio is really important and is the best way of showing off what you’re playing. Distorted, muffled, or echoey audio is unpleasant to listen to and doesn’t leave a good impression.

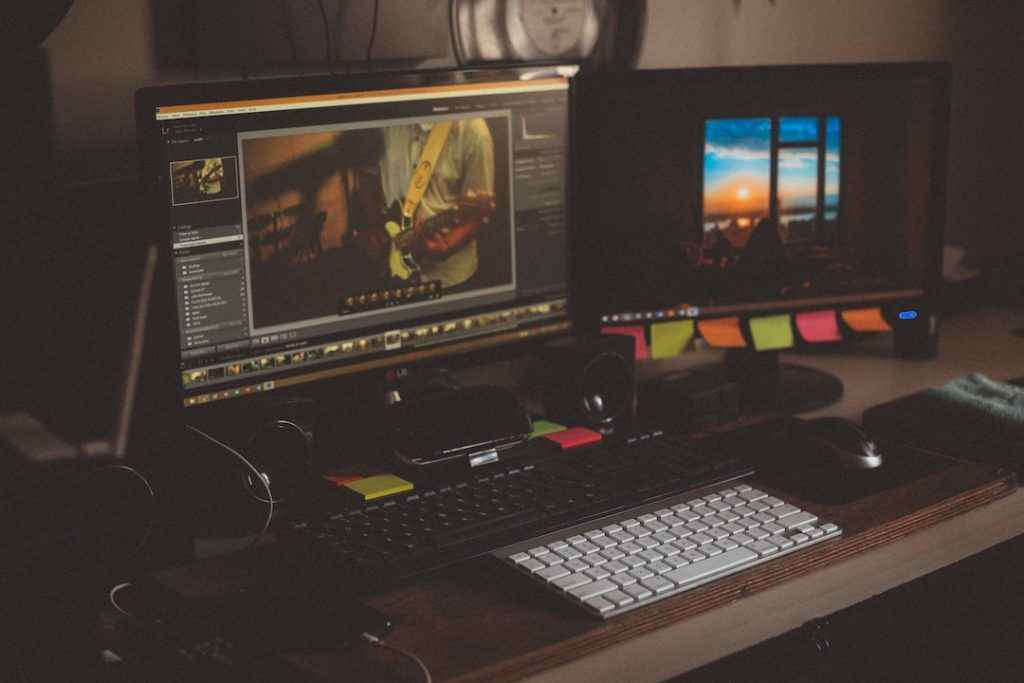
A great option if you’re planning on editing your video before uploading is to record directly into your computer and use virtual amp software. This allows you to play around with sounds and effects after you’ve recorded and ensures a clean, quiet recording – if a little clinical!

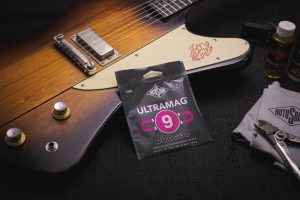
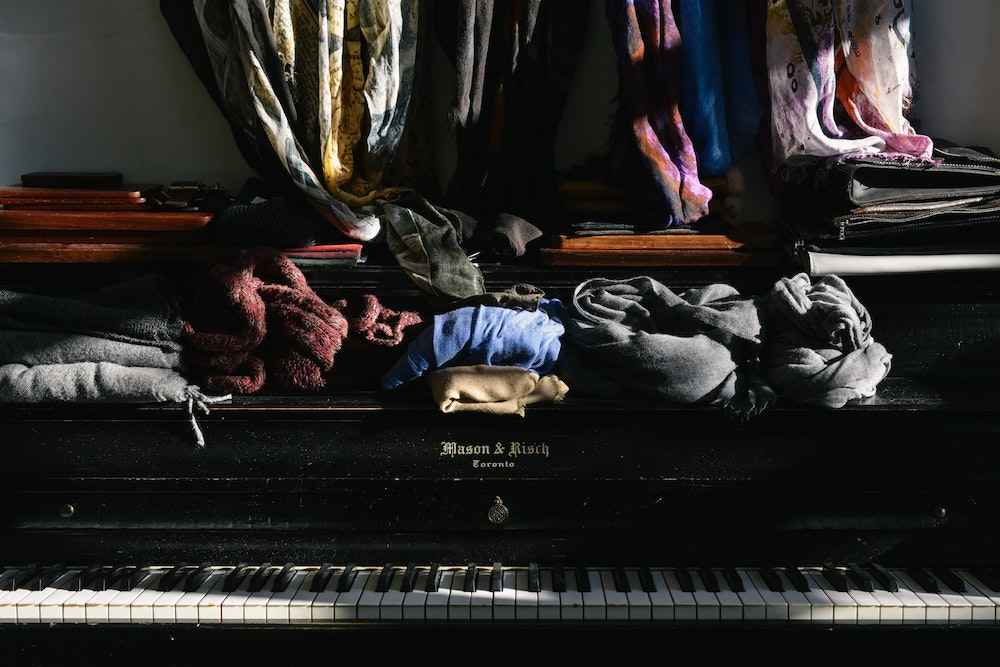
First of all, make sure you’re happy with the sound in the room. If the room is too reverberant try playing some soft furnishings in it to dampen the echoes. If there’s still too much reverb then you may need to consider another location. Play around with your amp and guitar settings until you’re happy with the tone and volume.

Once you’re happy, you have two options depending on whether you are using an external microphone or the one built into the camera:

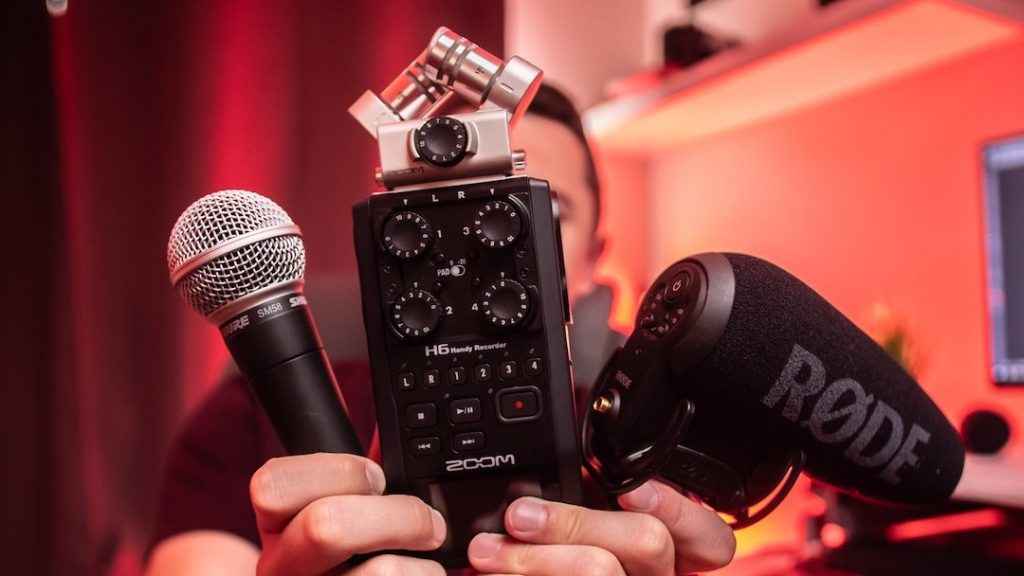
If you have an external mic, hook it up and place it in front of your sound source. Recording instruments is a whole world of its own so I won’t go into details but I will say that it’s always worth experimenting with microphone placement as you can dramatically alter the sound by moving the mic just a small amount.

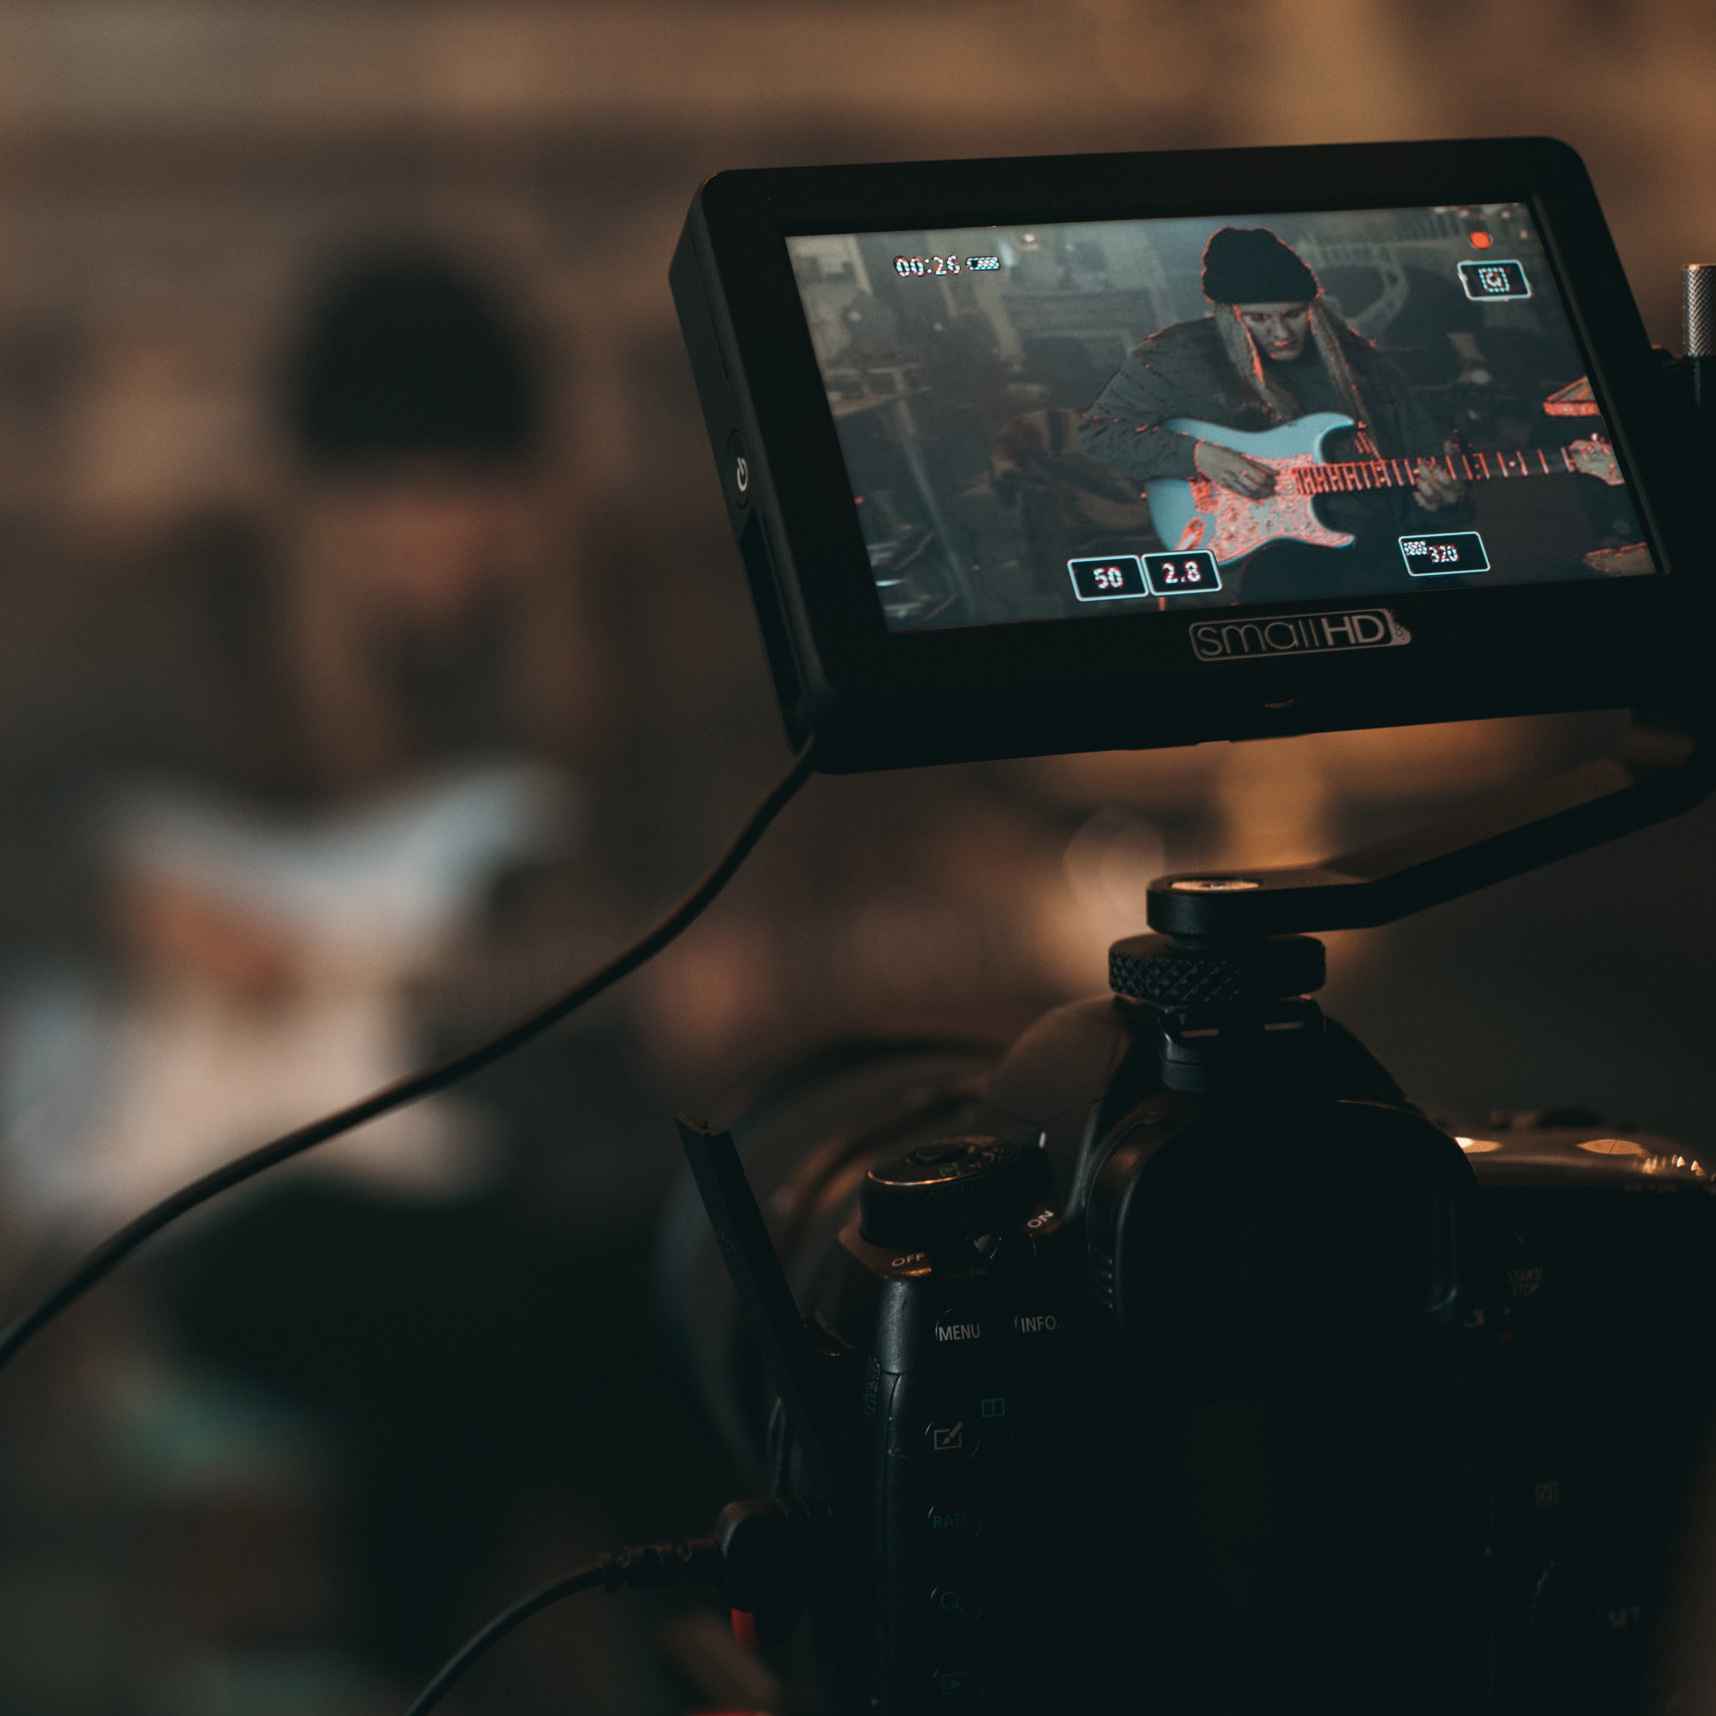
If you’re using the camera’s mic then you should experiment with moving your amplifier to a spot where it sounds best in relation to the camera. Moving it far away will result in more room reverberation but moving too close could cause the microphone to clip and distort. If recording acoustic guitar, you will be somewhat stuck on where you can place the guitar in relation to the mic, however be aware that angling the guitar by a small amount will still change the sound.

Finally, consider how loud the sound of your picking is in relation to the amplifier. Recording audio very close to your picking hand will make this sound a lot louder than your amp which could cause your smooth driven tone to sound more like an unplugged electric.

There are a range of microphones and interfaces on the market. Photo by Tyler Casey on Unsplash

Equipment

Good results can be obtained without an external microphone but if you’re going down the route of microphones a SM57-style dynamic microphone is a good starting point. Large-diaphragm condenser mics capture a wide frequency range but require phantom power and good quality ones can be pricey.

If using an external mic or recording directly you’ll need an interface and a Digital Audio Workstation (DAW) such as Garageband, Logic, Protools, Reaper. Most of these DAWs come with built in virtual amp simulation but will also work with third-party amp sim plugins.

Test the waters

Even if you’re being super-spontaneous, record a quick clip before you film the main event to check for video and audio quality. Play the loudest parts of your song to check that the audio isn’t distorting. If you hear crackles or distortion turn down your amplifier, or if you’re playing acoustically, move the phone further back.

Let’s talk formats

Before you start filming you should decide on what orientation you want your final video to be.

Videos have traditionally been shot in landscape, however, Instagram videos are best viewed in portrait as they fill up the entire phone screen. With IG Stories shown exclusively in portrait and the vast majority of people watching content on their phone vertically, portrait is the best choice for connecting with your audience.

Aspect ratios differ by whether the video is uploaded to a feed, story or IGTV. Here are the current orientations and ratios available on Instagram:

Feed
You can upload a video with an aspect ratio anywhere between 1.91:1 and 4:5. Videos have a maximum length of 60 seconds.

Stories, Live and IGTV
The ideal dimensions for Instagram Stories, Live and IGTV are 1080px wide by 1920px tall, with an aspect ratio of 9:16.

Stories are up to 15 seconds per story. Live videos are a maximum of 60 minutes long and IGTV is between 15 seconds and 10 minutes long.

Quick and instant: all on your smartphone

With the giant leaps in smartphone technology recently, it’s dead simple to make an engaging video which both looks and sounds great all within your handset. Editing might be more fiddly and the lack of features more restrictive but uploading is a piece of cake and you can be sure that the video will be the right format for uploading.

To get the best quality image from your smartphone, use the rear-facing camera. Photo by Daniel Romero on Unsplash

Shooting and editing within your phone is all about keeping the video feeling fresh and spontaneous so don’t go chasing Hollywood-quality shots and audio that could have come from Abbey Road studios. However, you should follow the tips above to help your video look and sound the best it can.

The camera on the rear of your smartphone will provide you with the best best quality image but you won’t be able to monitor how the picture is framed. Framing the shot first with a chair and a placeholder such as a pillow or a friend will let you adjust positioning before you start shooting. Alternatively, set up a mirror to reflect the phone screen back at you.

Apps for editing on the fly

There are a multitude of mobile video editing apps available to download. They vary on price and features so you should shop around for what works best for you. Our top choices are:

Taking smartphone video further

Once you’ve got to grips with filming and editing on your smartphone you might want to step things up without going the full monty and buying a camera and studio microphone.

External microphones such as the Shure MV88 and Rode I-XY are designed to connect directly to your smartphone allowing you to capture superior audio while enjoying the simplicity of filming on a phone.

Smartphones can also run virtual amplifiers meaning that you can run your guitar directly into your phone. You’ll need an appropriate interface – look out for the Line 6 Sonic Port or IK Multimedia’s iRig 2 – and the right software such as Garageband.

Going pro – filming with separate cameras and microphones

Using multiple cameras and mics will usually result in a more engaging video but it will slow you down, potentially causing the creative spark to fizzle out. However, the filming and editing process can be fun in itself and you may find yourself creating some really interesting videos.

Multiple angles can make for a more compelling video but will increase the edit time. Photo by ShareGrid on Unsplash

Here are some tips for filming with more than just a smartphone:

  1. Synchronise your cameras’ time and date with your computer before you shoot anything. Once all the files are imported to one computer it will be much easier to find which clips were filmed at the same time.
  2. Set up your devices’ audio to record at the same sample rate and bit depth. This will avoid issues when you bring them in to edit.
  3. The same goes for video – use the same resolution between devices and try to match the white balance.
  4. Clap your hands as soon as all devices are recording – this gives you a reference to sync up all of the clips in the edit.

And don’t forget to have fresh batteries and enough space on your memory cards!

Editing

Once you’ve filmed everything and imported it into your editing software you’ll need to sync it up. Some applications such as Premiere Pro allow you to simply select all of the clips, right-click, and select synchronise. With others, you’ll need to manually drag each clip to line up with the audio. This is where that clap you did at the start of recording comes in handy.

Once you’ve chopped up the clips and made an exciting edit you’ll need to export it to an Instagram-friendly format. Export as an MP4 and use these settings:

  • H.264 codec
  • AAC audio
  • 3500 kbps bitrate
  • Frame rate of 30 fps (frames per second)
  • Video can be a maximum of 60 seconds
  • Maximum video width is 1080 px (pixels) wide
  • Videos should be 920 pixels tall
There are a lot of editing applications available. Photo by João Silas on Unsplash

Uploading your video to Instagram

Unless you’re posting to IGTV – which allows uploading directly from a desktop computer – you’ll need to upload the video through your smartphone.

If you’ve been editing on a Macintosh and have an iPhone using Airdrop is a super easy solution. Another great alternative is to use Dropbox which you can install on both your desktop and phone allowing shared folders to be created between the two.

Once the video is on your phone, open up the Instagram app and create a new post or story using your video.

We love hearing your feedback so please leave your ideas and thoughts in the comments section…

Like this post? Share it with a friend...

Leave a Reply

Stay in the loop

Subscribe to the Rotosound newsletter